Kalos Patterns
Stats at a Glance
Phase 1: 336T HP, 250 AUT requirement, level 275, 380 DEF.
Phase 2: 180T HP per segment, 300 AUT requirement, level 280, 380 DEF.
Common to Phase 1 and 2
Kalos’ Will

The main mechanic of the boss fight. The circle in the centre is a gauge that, when full, allows you to use NPC Chat to fire a projectile. Press once to aim, and another time to shoot. Aiming automatically swivels in the 180 degrees forward and can’t be controlled. The gauge is used up on the first press; it will start recharging from aiming, not from shooting. You are free to do any other action (including attack) while aiming. The gauge recharges in 20 seconds and can’t be sped up, but will not recharge while you are dead.
Use the projectile to hit machines that have been hacked by T-Boy to deactivate them.
T-Boy’s Interference (Hacking)
Around the map are 4 machines. They are also visible on the mini-map as blue stars when inactive, and red stars when active. The 4 dots on the periphery of the Kalos’ Will gauge will also indicate which machine is currently active. When machines activate, a notification will appear in chat.
T-Boy’s intervention awakens the Abyss Eye.
T-Boy’s intervention awakens the Binding Eye.
T-Boy’s intervention awakens the Shelling Aircraft.
Odium’s Orb detects enemies through T-Boy’s interference.
If all 4 are active, the gauge will start “burning” and an additional message will show up in chat.

Intensified interference by T-Boy heightens the atmosphere of the skyscraper.
If all 4 remain active for 1 minute, the fight instantly fails.
A machine gets hacked every 1 minute starting from the start of Phase 1. Entering Phase 2 resets all machines. If all 4 machines become hacked, the next hacking will occur 1 minute after the party recovers from the instant-fail condition. In Phase 2, during segment tests and while Kalos is groggy (after passing a test), the hacking timer is paused.
If your party has the damage to clear the boss fight (assuming 230-240 AUT), Phase 1 will easily be a 1-bind down. It is best to wait for party member bursts to come back up before going into Phase 2. Because of this, you will not remain in Phase 1 long enough for T-Boy’s hacking to matter, and it is best to not bother with Kalos’ Will (except to deactivate laser) and to focus on dodging other patterns like Bomb and Roar instead.
Mathematically speaking, with the 20 second cooldown on Kalos’ Will, it is theoretically possible to keep all the machines deactivated, since at most they require 3 shots (per party member) to deactivate. However, in practice, due to other patterns and having to run away from Kalos (and, more simply, just missing your shots), it’s nowhere near possible to use Kalos’ Will off cooldown. It is best to not immediately deactivate machines but to keep them navy-coloured and ready to deactivate when the instant-fail condition begins.
Abyss Eye (Missiles)
The Abyss Eye is represented on the right side of the minimap and the top-right dot on the gauge. When active, it activates every 15 seconds, firing a volley of 3 missiles aimed at the party. In Phase 1, each missile does 20% of max HP in damage. In Phase 2 it is 30% instead. In both phases getting hit by a missile temporarily reduces your vision; 3 seconds in Phase 1 (before status resistance) and 5 seconds in Phase 2. The number of missiles fired increases as Kalos’ HP decreases.
The missiles have a rather… generous hitbox.
Contrary to most boss patterns, the missiles are not instanced. A missile that impacts a party member (whether they are invulnerable or not) will be used up on that party member and not pierce.
It is deactivated by firing Kalos’ Will into the spherical core in the middle of the tower. It takes 3x the number of members in the party to clear (3 for solo, 18 for a full party). The core will change colour from red to purple to navy to blue (deactivated) as more party members shoot it, so in a full party, a navy coloured core indicates it’s 6 (or less) shots away from deactivating.
The most effective way to deactivate it is to forgo aiming Kalos’ Will and just up-jump or flash jump toward the core for a point-blank shot. The same goes for the Binding Eye.
Binding Eye (Laser)

The Binding Eye is represented on the right side of the minimap and the bottom left dot on the gauge. When active, it activates every 15 seconds, firing a laser that repeatedly damages for 15% max HP and stuns for 3 seconds (5 seconds in Phase 2), similar to Guardian Angel Slime’s laser. The stun is dispellable. When Kalos is below 50% HP in Phase 1, and in Phase 2-2, two lasers are fired instead. In Phase 2-3 and 2-4, three lasers are fired.
Similar to the Abyss Eye, it is deactivated by firing Kalos’ Will into the spherical core, and the number of shots required is 3x the number of members in the party.
By far the most dangerous of the 4 machines, the stun from this laser will prevent dodging Kalos’ attacks and other patterns and will easily lead to deaths. It is imperative that someone is timing the laser and warning the party when to watch out, and indeed in KMS’ first clear there was a member in voice who wasn’t even fighting the boss but was there purely to time the laser. Either sustained airtime or teleporting across the ground is the best way to dodge the laser while fending off Kalos’ attacks.
The stun is serious enough that it is impractical to engage in Phase 2’s segment tests while the laser is active. It should be deactivated before activating the test.
Shelling Aircraft (Drone)
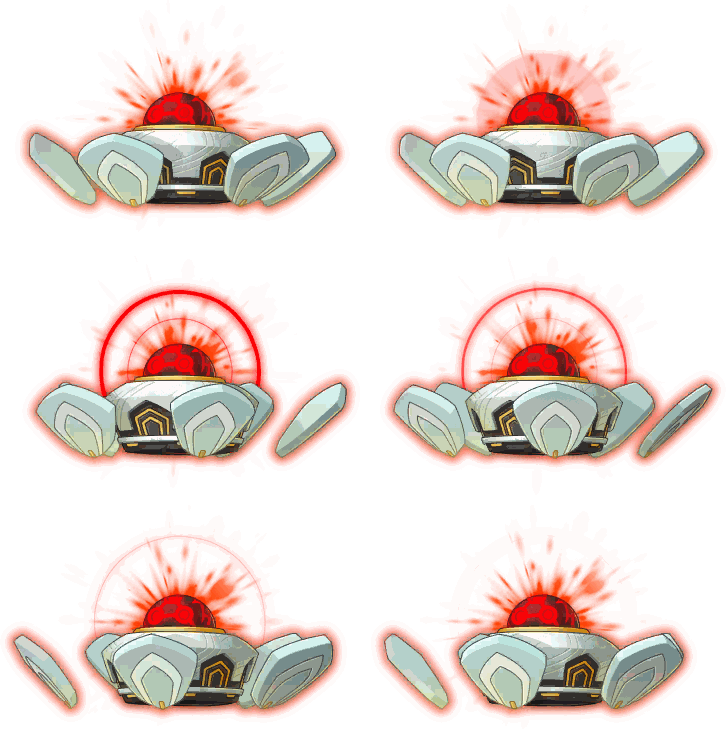
The Shelling Aircraft is represented on the top of the minimap and the top left dot on the gauge. When active, it drifts left and right across the top of the map, periodically (every 15 seconds in Phase 1, 25 seconds in Phase 2) firing a wide purple laser below. The laser stays for a period of time and deals 40% max HP in damage per tick.
Unlike the two Eyes, the Aircraft is deactivated not by shooting its core, but instead shooting the generators above it which will emit a spark.
Video from 진격캐넌 livestream
If the Aircraft is within range of the spark, it takes a hit. Because it is moving, and is high in the air, it is harder to shoot than the two Eyes. Additionally, while any number of party members may shoot the Eyes simultaneously, the generators each go offline for a few seconds after being shot, so party members have to stagger and spread out to continue deactivating the Aircraft. Because of this, it takes less shots (2x the number of party members) to fully deactivate.
Odium’s Orb

Odium’s Orb is not on the minimap when the fight starts, but when active it the minimap icon will bounce around the map to indicate the Orb’s position. It is also represented by the bottom right dot on the gauge. When active, it bounces around the map DVD-logo style and deals 30% max HP on contact. In Phase 2, it moves faster.
Similar to the Aircraft, it is deactivated by shooting generators at the bottom of the map which generate a force field. If the Orb comes into contact with the force field, it takes damage. The generators go offline for a few seconds after being shot. The force field remains for 1.6 seconds which makes the timing flexible; it is possible to deactivate the Orb by shooting the generator quite early and have the Orb move into it (the Orb’s travel path is set to always come into contact with the generators). The number of shots required to fully deactivate it is 2x the number of party members.
The Orb is easily the least threatening of the 4 machines, but because of the generator downtime it is one of the harder ones to deactivate when in a party. There’s no indication of how many shots left are required to fully deactivate it, either, unlike the coloured cores of the other 3 machines, so it’s also harder to keep the orb “low” and save it for an emergency clear.
Bombs

Explosions will appear across the map. They will deal 30% max HP in damage. It is possible for them to overlap and stack their damage. Because of this, it is absolutely imperative for someone to be timing them and to warn the party when they are imminent.
Bombs occur every 15 seconds at the start of Phase 1; this timer becomes 10 seconds after Phase 1 falls below 50% HP. After this, bombs will be every 10 seconds instead. In Phase 2, Bombs are always every 10 seconds.
Phase 1
In Phase 1, the AUT requirement is 250 and there is a 10 second cooldown on consumables. Phase 1 has 336T HP.
Kalos’ attacks
Heat Vision

Kalos zaps the areas on either side of him for 70% max HP. 15 second cooldown. This attack actually has two hitboxes and a tiny safespot in the middle, but for the most part is too fast to react to and it is better to just avoid it by being on a platform above or below him.
Rear Grenade

Kalos launches grenades from his shoulder, attacking the area behind him for 40% max HP damage. 8 second cooldown. If you are in front of him, he will turn around to use this attack on you. The hitbox is tall and will hit people on the platform above.
Slam
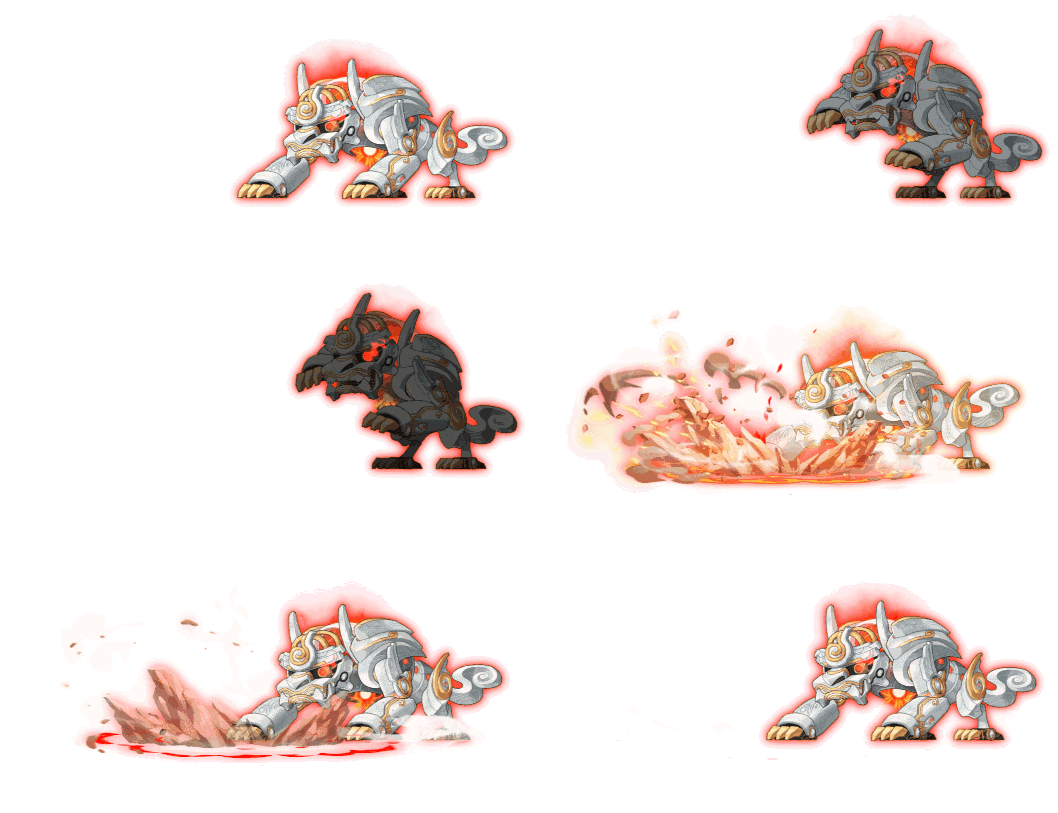
Kalos slams the area in front of him for 30% max HP in damage and knocking people back while also Stunning them for 1 second. 12 second cooldown. Avoid by being on the platform above/below him.
Watcher’s Roar
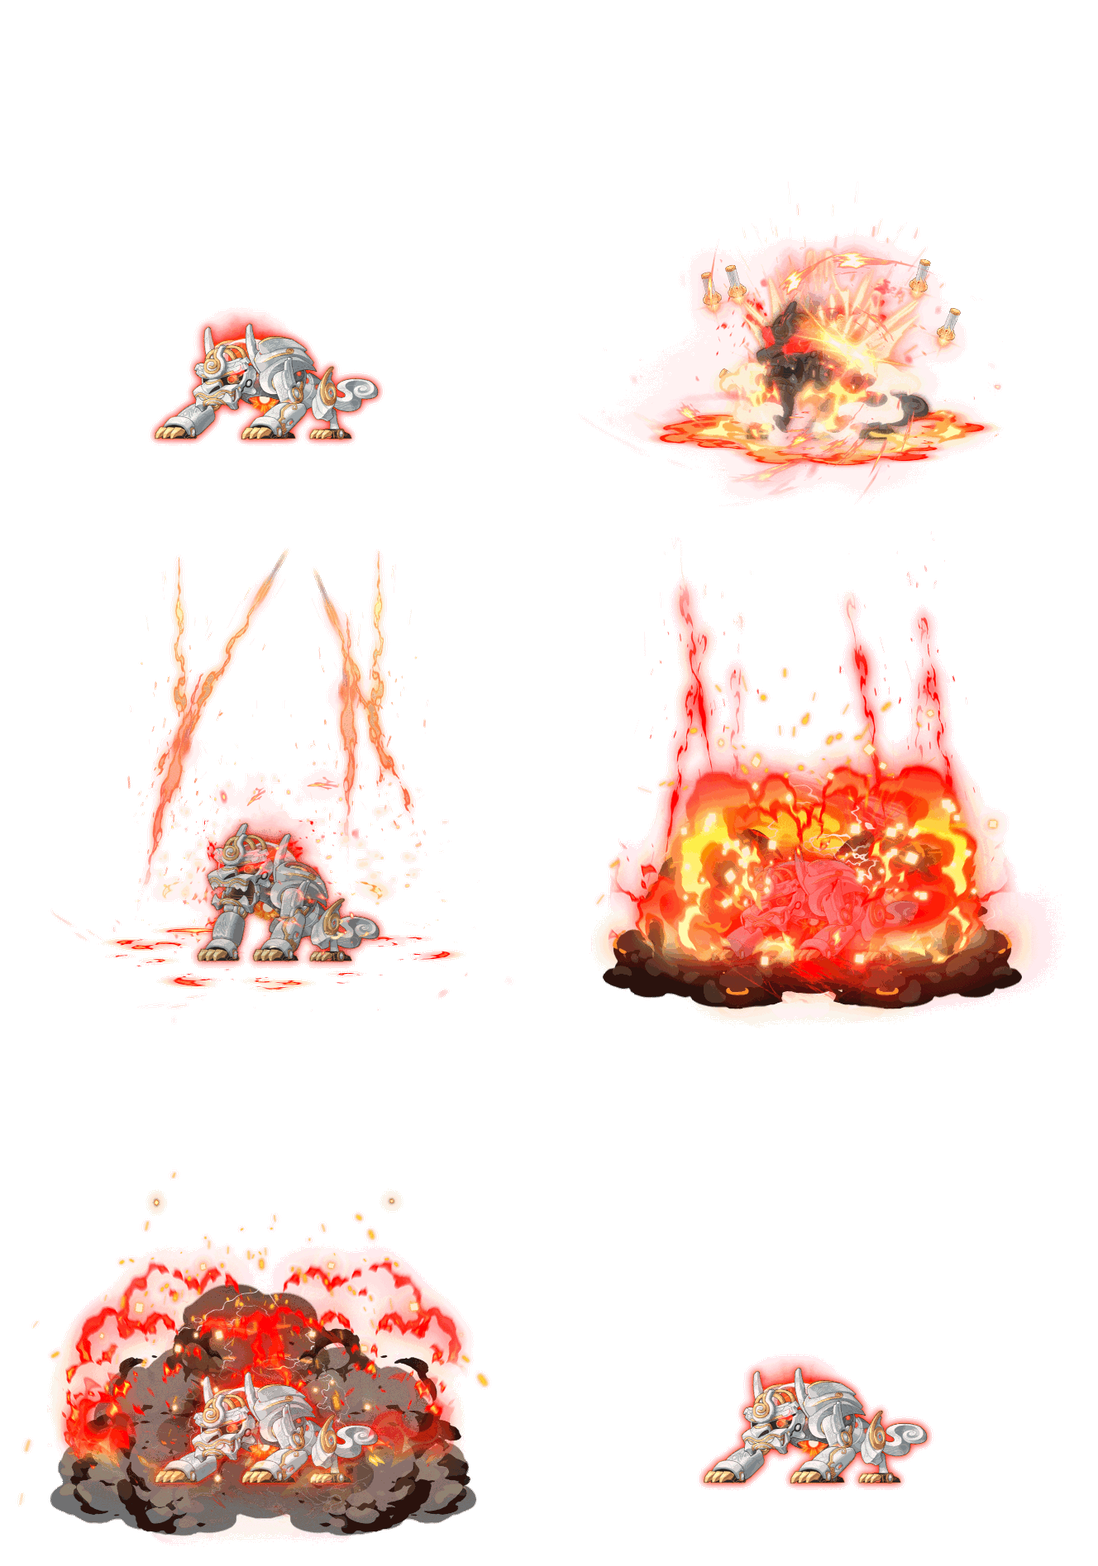
Kalos roars and launches a barrage of rockets. The roar is a weak initial hit around him that does 5% max HP in damage and Seals for 1 second, and is meant to trap people into getting hit by the second hit which happens 0.84 seconds later and does 999% max HP in damage. Both hits have the same area.
The cooldown of this attack is unusual in that while most boss attacks start off-cooldown, Roar (in both phases) starts on a cooldown of 150 seconds (2 min 30s) when the party first enters. If the boss is not bound at all, most parties will enter at 29:50 and the first Barrage will occur at 27:20. However, the cooldown does not tick while the boss is bound, and hence binding it will delay the attack. For the most part in KMS, this practically means that it occurs on a 2m40s cooldown. However, interactions with Zero’s Critical Bind, longer binds like Archmage I/L’s Freezing Breath, and Lucid’s Earrings are as of yet untested.
(KMST 1.2.146 has indicated that the cooldown not ticking while the boss is binded may be a bug. Will verify on live patch)
When Roar is used, a machine (at random) will become hacked instantly (unless all 4 are already hacked), independent of the normal 1-minute timer.
Phase 2-1
In Phase 2, the AUT requirement is 300 and there is a 10 second cooldown on consumables. Phase 2 is divided into 4 segments of HP of 180T each. Map mechanics change significantly between the 4 segments, so they are referred to separately as 2-1 to 2-4.
Kalos’ attacks
Heat Vision

In Phase 2, the lasers hit a wider area around Kalos and leave burning areas on either side of Kalos. Getting hit by the initial lasers causes 75% max HP in damage, and the fires tick for 20% max HP every second. The fires tick infrequently and are for the most part not dangerous; the lethality remains in getting hit by the initial zap. This attack has a 15 second cooldown. Avoid by being on platforms above or below Kalos.
Double Slam
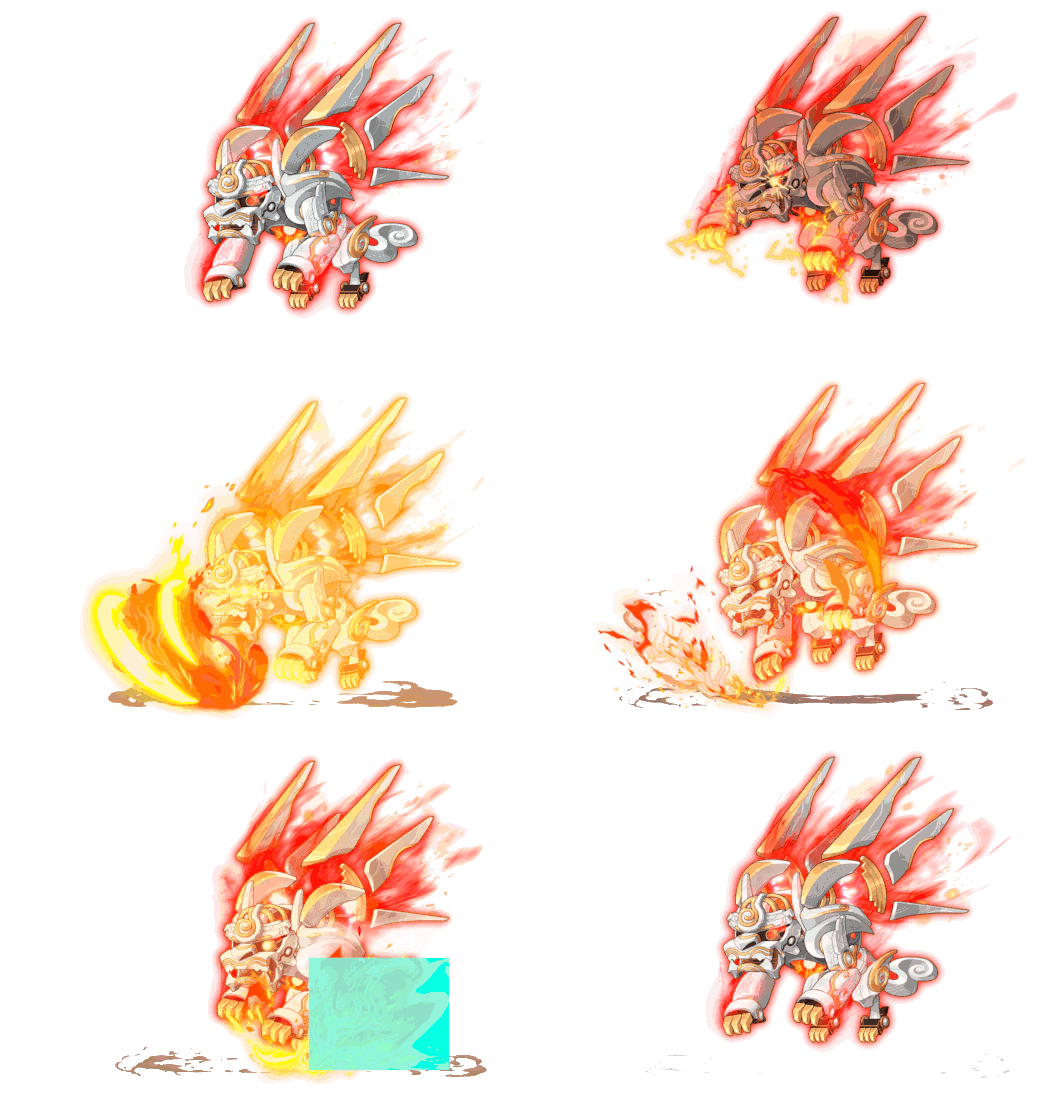
Kalos pounds the area immediately in front of him with both paws. This attack hits twice for 35% max HP each, 0.54 seconds apart. Both hits have superknockback and Stun for 2 seconds. 12 second cooldown. Avoid by being on platforms above or below Kalos.
Jump
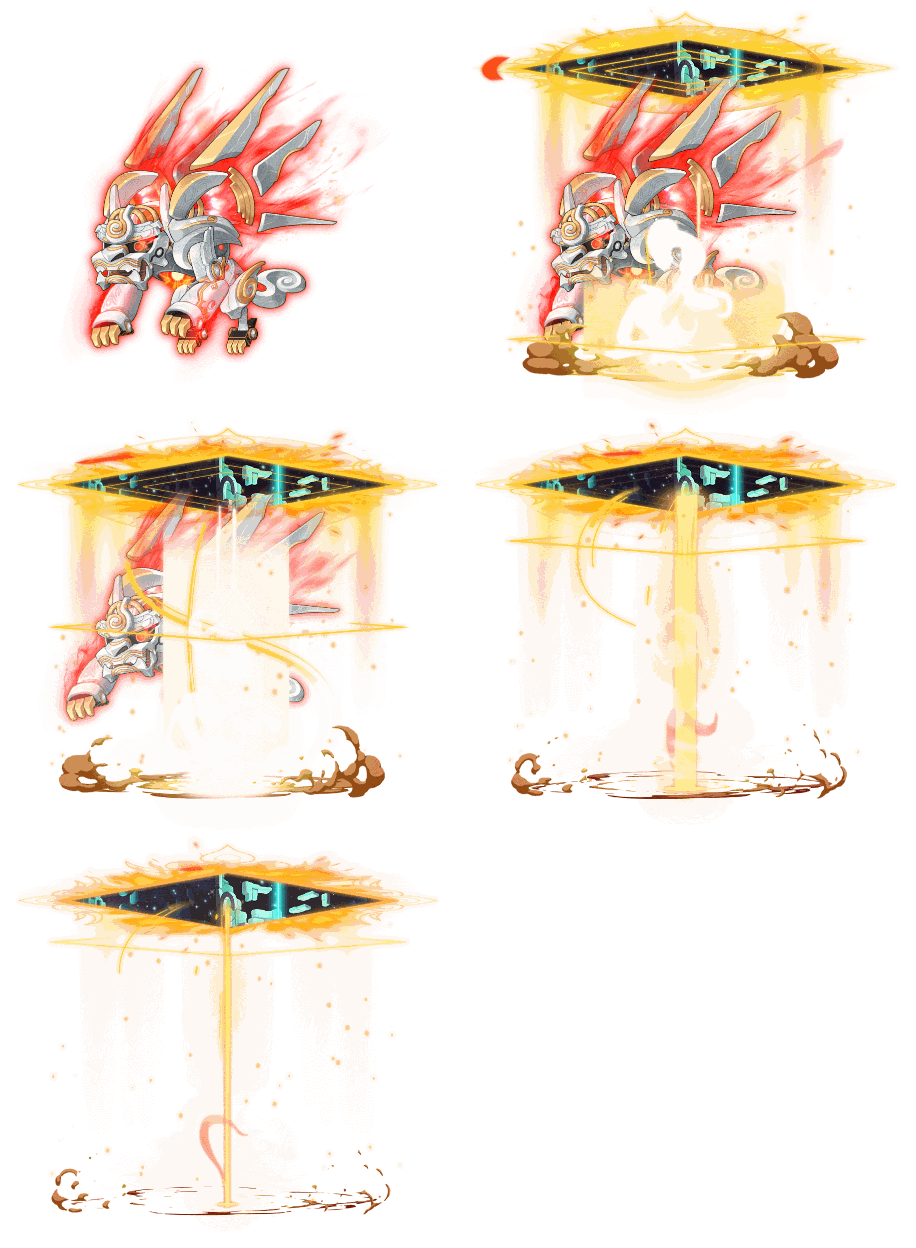
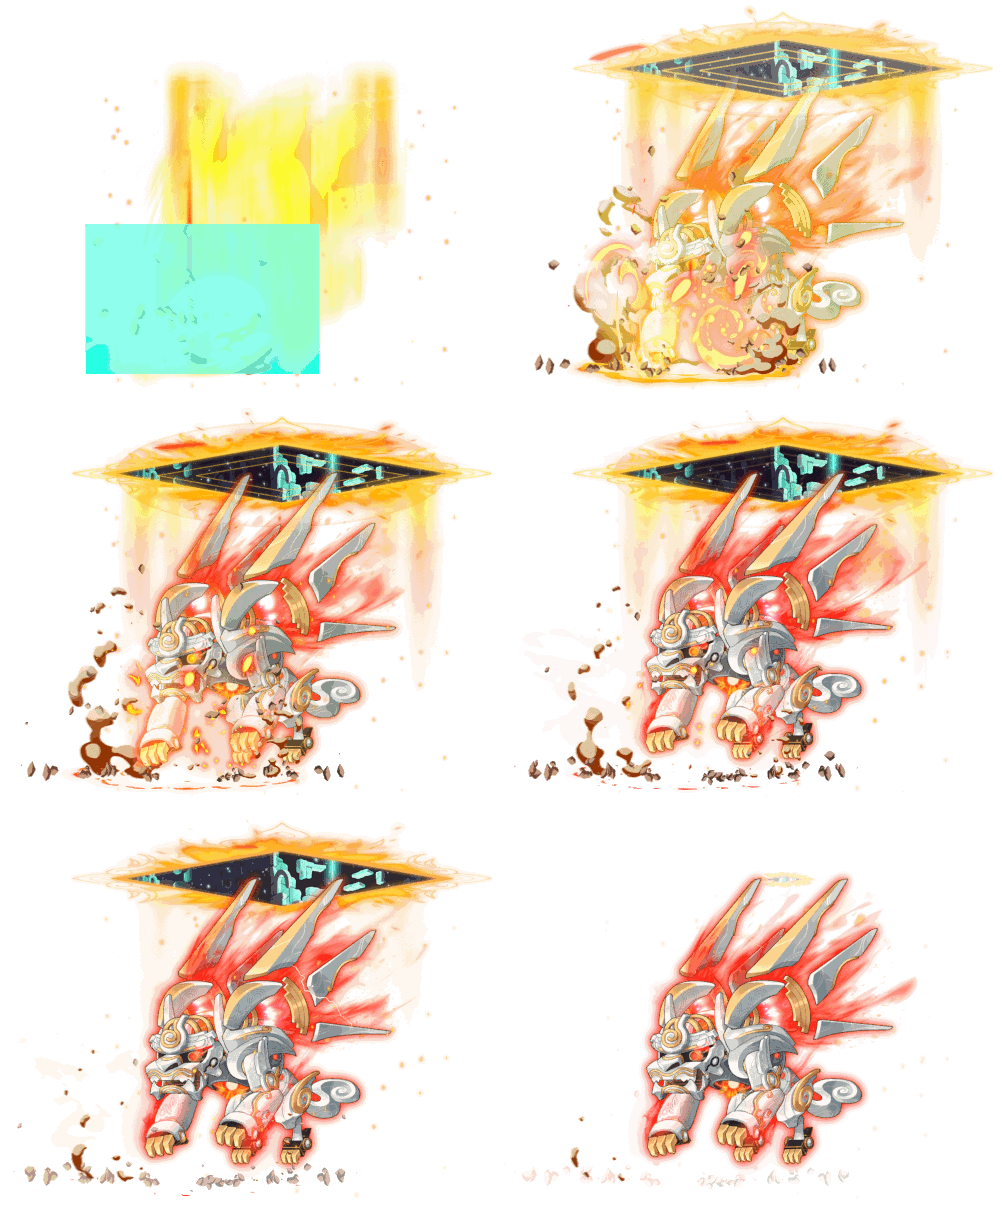
Kalos phases out into the “watcher-verse” and targets a party member. When he reappears, he crashes down at a location where the party member was at the time the attack started. Which party member is targeted is random. Deals 100%x3 damage to everyone in the area. The area is not tall enough to cover multiple floors; it can be avoided by being at a platform above or below the targeted area. The functionality is similar to Red Pierre’s teleport-attack.
The fact that the attack has 3 hits of 100% max HP means that it kills through Heaven’s Door while using up Heaven’s Door. However, some class-specific door-like skills that grant invulnerability like Phantom’s Final Feint will allow survival. In particular, Eunwol’s Link Skill, Close Call, also allows a chance to survive this attack and Breath.
This attack has no cooldown and is used most frequently out of all other attacks. He usually alternates teleporting normally (without damage) and using Jump, but this isn’t a hard-and-fast rule. Avoiding this attack requires prompt communication between all party members and constant monitoring of where Kalos is on the map. At least one member should have eyes on him at all times, and be ready to immediately call out a Jump. When it is called, party members can either try to identify a safe spot (an area where no party member was for the past 5 seconds), up-jump if they are on the top floor of the map, or jump to the sides of the map and float (with Blink or any other skill) near the Eyes.
Breath

Kalos charges up and fires a very wide laser that deals 100%x10 damage in front. The length isn’t infinite, but it is very long. The height is high enough to hit party members standing on platforms above him; jumping is necessary to avoid. Similar to Jump, getting hit by Breath is an instant kill that pierces Heaven’s Door.
Breath has a cooldown of 60 seconds in 2-1, 45 seconds in 2-2, and 30 seconds in 2-3 and 2-4. It is a significant cooldown that should be tracked by someone in the party.
Thunderbolts


Kalos summons thunderbolts to strike around him. After using the skill, 5 thunderbolts will strike around his centre of mass. The thunderbolts deal 30% max HP in damage and are tall enough to cover the platform above him. No one should remain anywhere near him anyway, so for the most part this isn’t a threat.
Watcher’s Roar

Similar to Phase 1, this attack has an initial hit that does 10% HP and Seals, and follows up with a larger hit that does 999% max HP. The area of the second hit is large enough to cover the platform above him, but not large enough to cover any platforms below him.
The cooldown is 2m30s. Upon entering Phase 2, it will be on full cooldown. The cooldown does not tick while binded. For a typical KMS party with a single 10 second bind, the first use will occur at 2m40s after entering, and for the most part, in typical 3-minute burst parties, it is easily tracked because it occurs roughly once every burst. KMS 1.2.369: Binds no longer push back the Roar cycle.
When Roar is used, a machine will instantly become hacked independent of the normal 1 minute cycle, unless all 4 are already hacked. It is important to track this cooldown to avoid situations where the instant-hack inconveniently starts a insta-fail timer right after the party has just recovered from an instant-fail condition.
Segment Test: Fury of the Watcher

When enough damage is dealt to Kalos to hit 75%, 50% or 25% HP, a segment test immediately begins. The above message will appear on the screen and Kalos will move to the middle of the map and charge up a full-map attack.
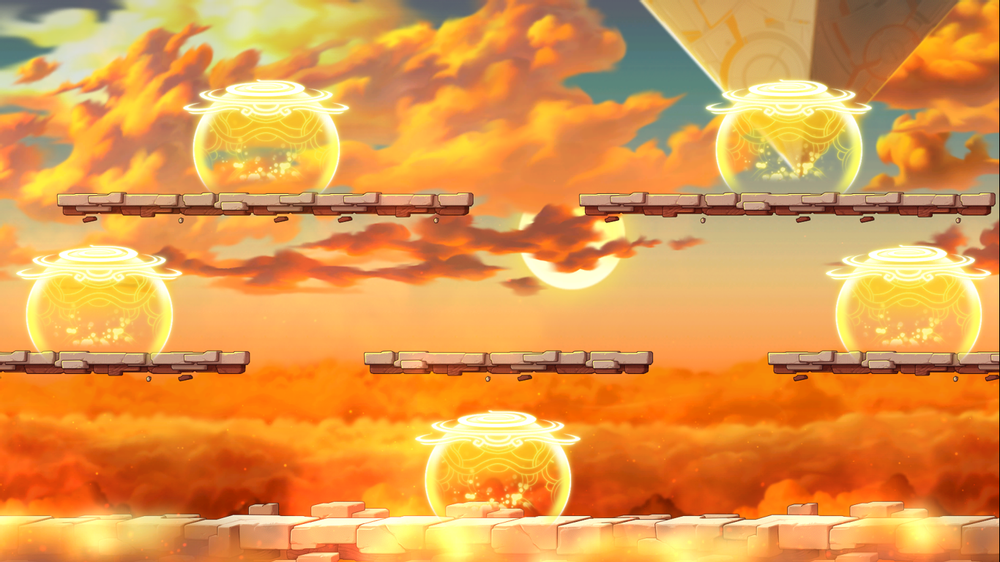
A protected region will occur in 1 of 5 possible locations. If players are not in the region, they will suffer 999% max HP in damage when the attack occurs. Unlike in Seren, a party member not being in the safespot won’t cause party members to be hit. The attack can be survived via invulnerability skills.
5 attacks will occur, roughly 5 seconds apart, and party members have to move to a new safespot each time. A safe spot will not occur twice at the same location each test, which means that each safe spot will occur exactly once.
During the test, the hack cycle, bombs, and Barrage cooldown will be paused. However, any machines currently hacked will continue attacking. Dying to any cause, be it the test itself or due to the machines, will cause the test to fail. Kalos will recover 5% of his HP, the segment will not be lifted and he will immediately start attacking again with no groggy phase.
If no party member dies for any reason during the course of the test, the test passes. The segment block is lifted, and Kalos becomes groggy for about 17 seconds, during which Kalos receives increased damage and most other map patterns are paused as well.
During the test, if the Binding Eye is hacked, failure is basically guaranteed. There’s not nearly enough room to manoeuvre around to dodge the laser, and being stunned will prevent party members from moving to the next safe spot. It is imperative to deactivate laser right before activating a segment test. By extension, Barrage’s cooldown must be tracked to avoid situations in which Barrage inconveniently activates the Binding Eye right before activating test.
The other machines are easily counterplayable - the Orb isn’t lethal, the drone can be jumped through being only 40% max HP in damage, and the missiles can be tanked by a party member with invulnerability or Ethereal Form. In the worst case scenario, the safespots can be ignored - Aion of Creation is long enough to maintain inveulnerability through two full-map attacks during the test, and other invulnerability skills can also be used to avoid the other attacks in conjunction with moving to safespots when possible.
During the test, from the top-right and mid-right safespots, it is possible to hit the Abyss Eye with Kalos’ Will with a bit of careful aiming. Having all 6 members remember to shoot during the test contributes massively to protecting the run from an instant-fail.
Sacrificing burst during the groggy phase to use Kalos’ Will is counterproductive in low-damage runs. The fight is insane enough that in 2-3 and 2-4 it is practically impossible to deal damage off-burst outside the groggy phase. If you can use Kalos’ Will during burst to hit the Orb or any other machine, by all means do so; otherwise, if Kalos’ Will is completely unused between the test and the groggy phase, the gauge will be basically wasted for 60 seconds which will make an instant fail all the more certain by the time 2-4 rolls around.
Because of this, firing Kalos’ Will while on the right and top-right safespots is a subtle but helpful point to remember.
For minimum-damage clears at 230-240 AUT, optimising the damage during burst is all the more important. Follow up the groggy phase with a bind, but do not use invulnerability skills like Aion of Creation during the Bind just to make bursting more comfortable. Use them after the bind is over to give 10 extra seconds of time to deal damage with burst buffs like Bishop’s Pray.
Phase 2-2
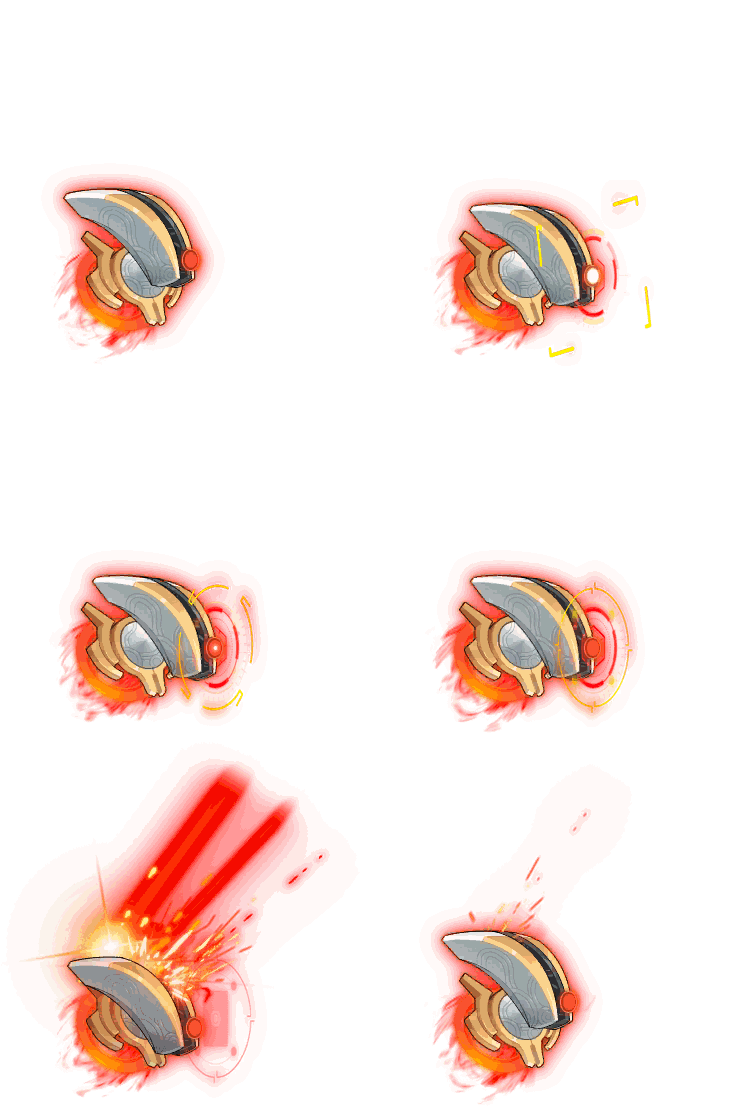
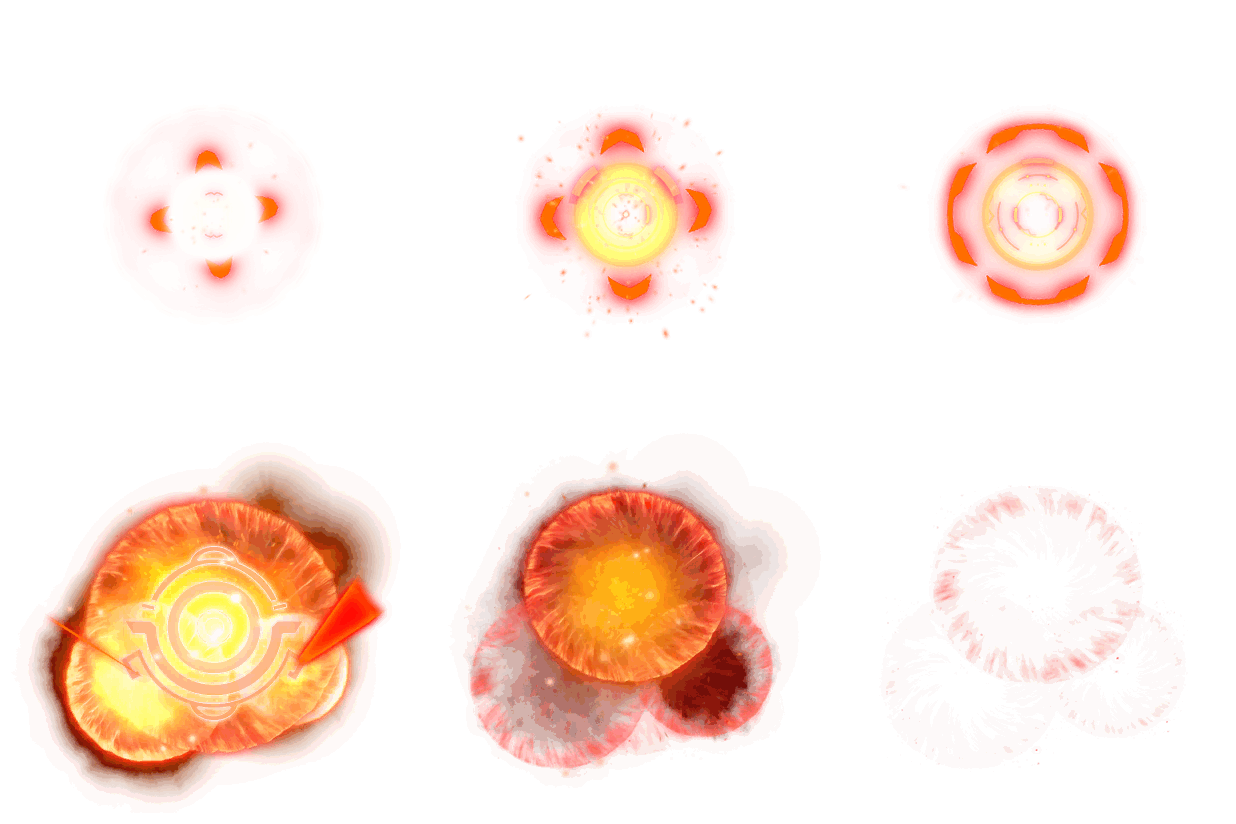
Upon passing the first segment test, a part of Kalos’ wings breaks off and hovers on the top left of the map, acting as a cannon. The piece periodically fires at targeted areas on the map, on a 15 second cycle.
Each area will be struck twice for 35% max HP damage, about 1 second apart, and like the normal Bombs, they can overlap. KMS 1.2.369: The explosions no longer occur twice.
Functionally, this becomes an independent Bomb cooldown, but Bomb cannot occur at the same time as this cannon is firing, and vice versa. It will wait until the current-occurring map attack is over before activating. Because of this, Bomb’s cooldown becomes less certain and is not always 10.2 seconds.
The following also occur in Phase 2-2:
- Breath’s cooldown is now 45 seconds instead of 60 in 2-1.
- The Binding Eye will fire 2 lasers instead of 1.
- The Abyss Eye will shoot 6 missiles instead of 3.
Phase 2-3
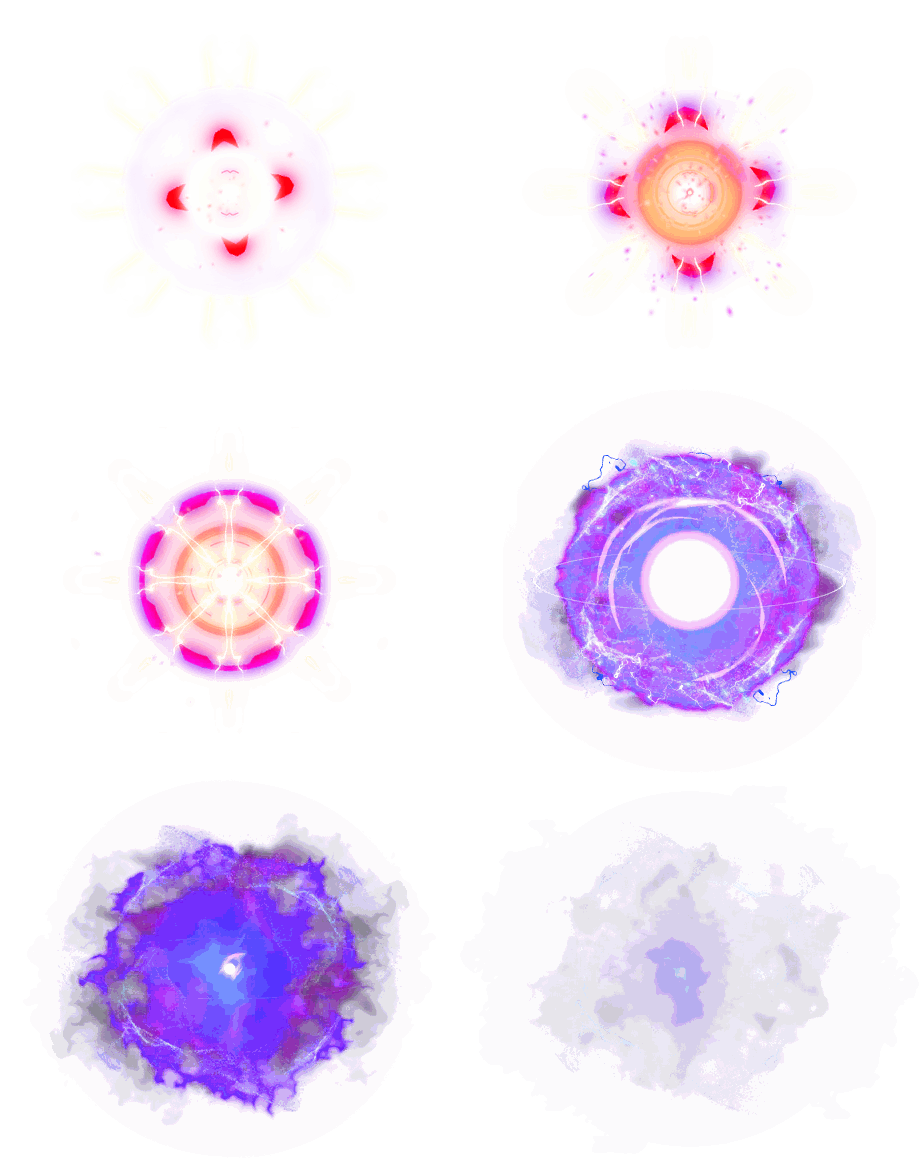
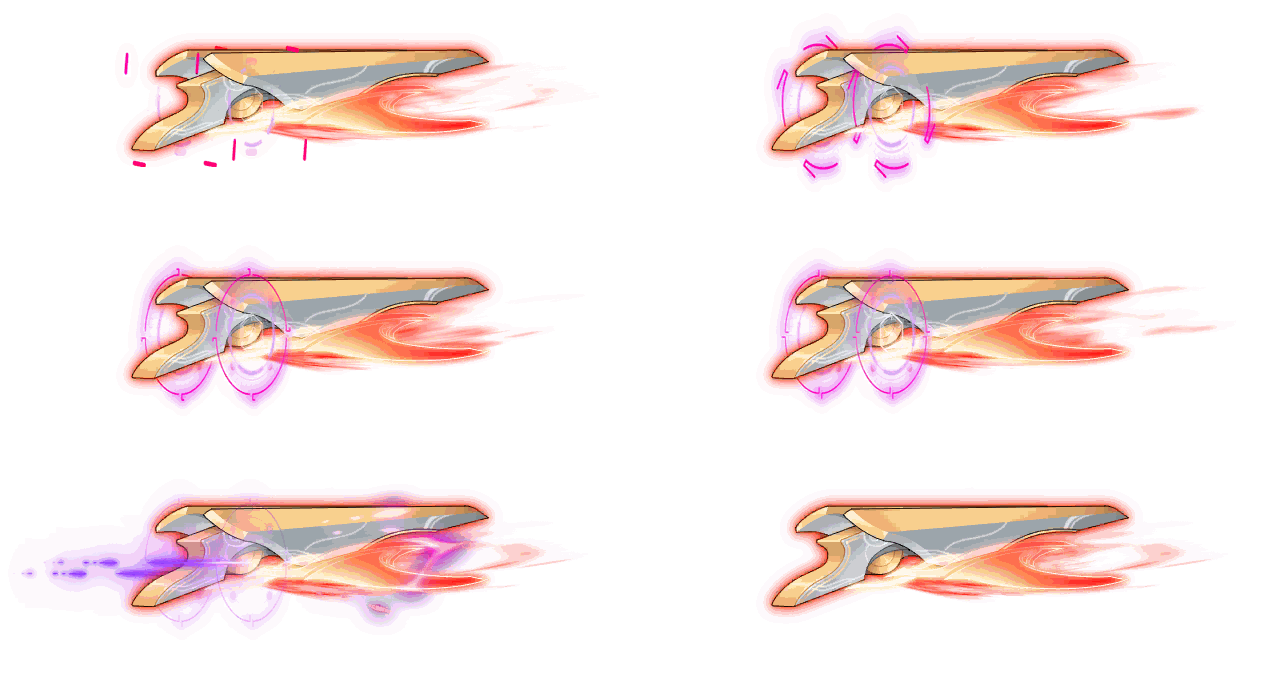
After passing the second segment test, another part of Kalos’ wings breaks off and hovers on the top right of the map, adding another Bomb. This one is purple coloured, shoots in a smaller effective area than the cannon from 2-2, and deals 20% max HP, but Weakens anyone who is hit for 3 seconds, preventing them from jumping.

In addition, Watcher’s Servants will also periodically spawn and move slowly toward players, exploding for 20% max HP when reaching them. They act similarly to Lotus Phase 1’s Dynamos and their explosion is very delayed. Simply jumping or walking past them is enough to avoid their attack. They are not very threatening.
The following also occur in Phase 2-3:
- Breath’s cooldown is now 30 seconds, down from 45.
- The Binding Eye fires 3 lasers instead of 2.
- The Abyss Eye will shoot 9 missiles.
Phase 2-4

In 2-4, every 60 seconds, curse stacks will apply to every party member, even if they are invincible, similar to Damien’s targeted Brands. At 1/3 stacks of the Curse, party members will receive 1.15x more damage from all attacks and patterns. At 2/3, the damage is increased to 1.3x.

At 3/3, a currently-unknown screen-crack map mechanic activates. Its effects are currently unknown, whether it kills all party members or directly removes Death Counts.
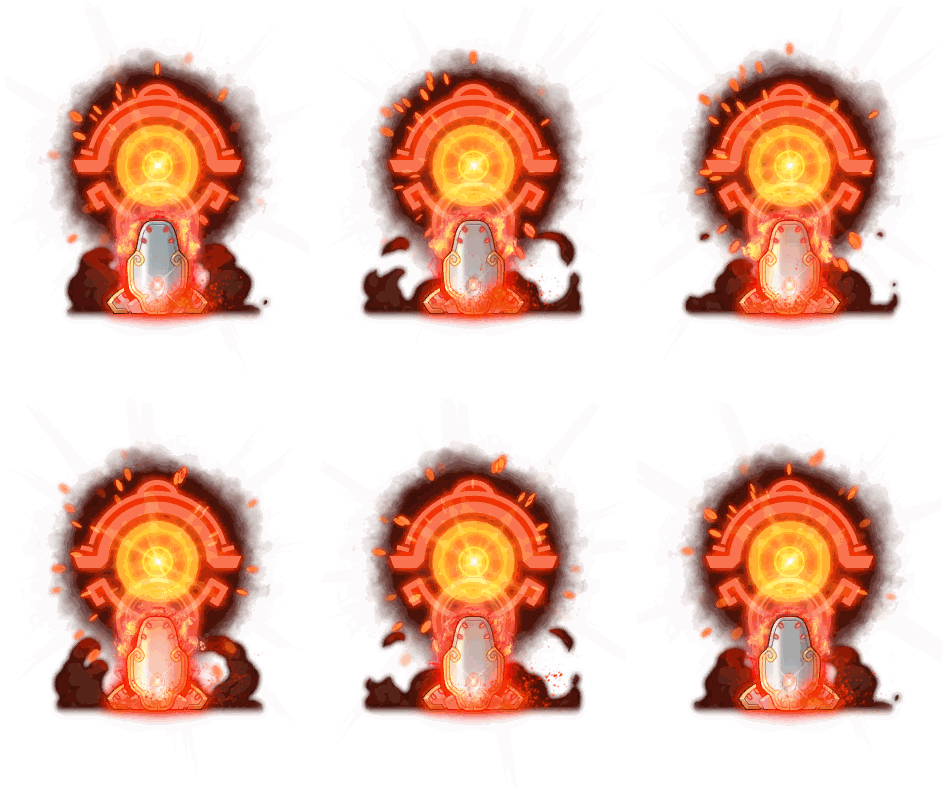
When Kalos becomes groggy, one of his arm guards will break off and plant itself in the middle of the map, acting as an altar. Curses can be cleansed at this altar by holding NPC Chat (a la Damien), and curses are also removed when dying. The altar can be used once every 60 seconds and is shared across party members.
The effects of 3/3 curse are unknown because for the most part, if you already made it to 2-4, your party would have delivered a solid burst to leave Kalos at less than 5% HP. Combined with the fact that the curse stacks infrequently (every minute) and is reset on death, this mechanic serves mostly to be a run-quickener; if you’re going to succeed you’ll do so soon anyway, and if you’re not going to end it quickly, the game will end it for you. (amplfying all damage received by 1.3x makes it pretty difficult for anyone to survive 1 minute to receive a 3/3 stack anyway.)
In 2-4, the Abyss Eye shoots 12 missiles, up from 9, but that’s the least of your concerns.
